Gift-giving is a wonderful way to show your friends that you care about them. But sometimes, finding the perfect gift can be a challenge. Why not try making DIY gifts for friends? Homemade gifts carry a personal touch and can be both thoughtful and budget friendly. In this easy-to-follow tutorial, we will explore some creative DIY gifts for friends. We’ll list the materials you’ll need and provide step-by-step instructions to help you craft these special presents.

Contents
- 1 Important things kept in mind when crafting DIY gifts for friends
- 2 Step-by-step instructions for making DIY gifts for friends
- 2.1 Amazing DIY gifting your buddies ideas: Customized Photo Frame
- 2.2 Careful DIY gifts for friends: Hand-Painted Mug
- 2.3 Soft DIY gifts for friends: Scented Candles
- 2.4 Culinary handmade presents ideas for buddies: Personalized Recipe Book
- 2.5 Dedicated DIY gifts for friends: Handmade Jewelry
- 2.6 Creative DIY gifts for friends: Hand-Decorated Tote Bag
- 2.7 Thoughtful handmade gifts for friends: Homemade Bath Bombs
- 3 Conclusion
Important things kept in mind when crafting DIY gifts for friends
There are several crucial notices that you should mind making the best DIY gifts that are made just for friends:
- Personal Preferences: Consider your friends’ individual tastes and preferences when selecting materials and designs. What suits one friend may not be ideal for another.
- Budget-Friendly Options: DIY gifts for friends don’t have to be expensive. Be mindful of your budget and look for cost-effective materials and techniques to avoid overspending.
- Time Management: Plan ahead and allocate sufficient time for your crafting projects. Rushing can lead to mistakes and lower-quality gifts.
- Safety First: When working with tools, adhesives, or any potentially hazardous materials, prioritize safety. Use protective gear and work in well-ventilated areas.
- Double-Check Instructions: Follow tutorials and instructions carefully. Missteps can lead to frustration and may require redoing parts of your project.
- Test Runs: Consider doing a test run or practice version of your DIY gifts for friends, especially if you’re trying a new technique. This can help you refine your skills before the final creation.
Step-by-step instructions for making DIY gifts for friends
There are a range of interesting gifts ideas that you can consider to make by yourself.
Amazing DIY gifting your buddies ideas: Customized Photo Frame
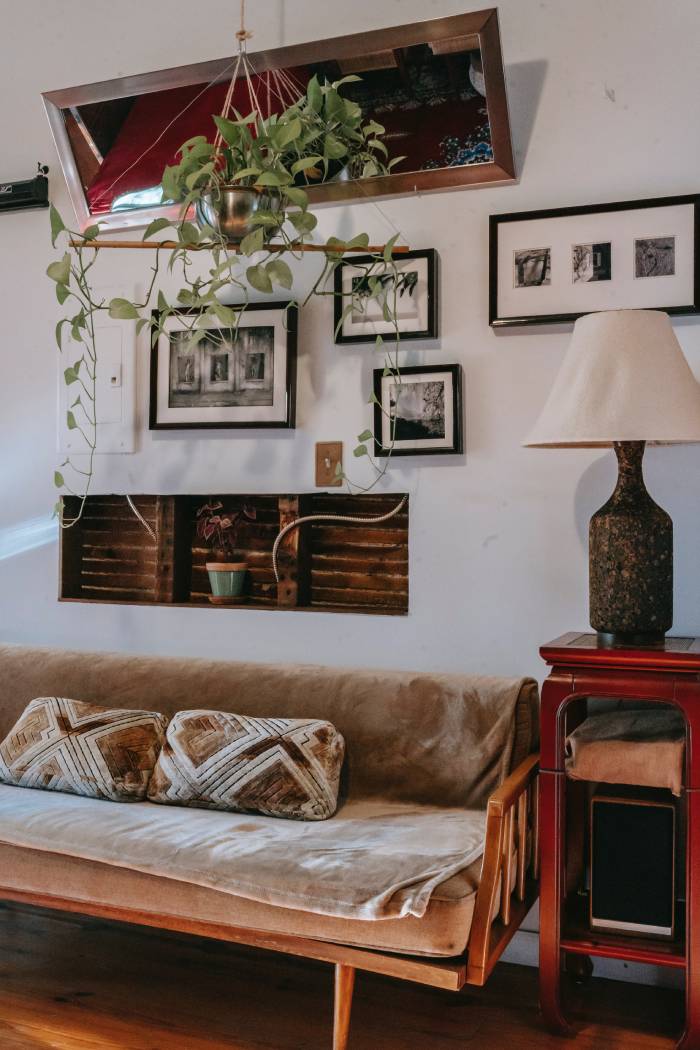
Materials Needed:
- A plain wooden photo frame
- Acrylic paint in your friend’s favorite color
- Paintbrushes
- A printed photo of you and your friend
- Mod Podge or clear varnish
- Decorative stickers (optional)
Step-by-Step Instructions:
- Start by painting the wooden photo frame with your friend’s favorite color. You may need to apply multiple coats for even coverage. Let it dry completely between coats.
- Once the paint is dry, select a printed photo of you and your friend that fits the frame. Trim it to the correct size if needed.
- Apply a layer of Mod Podge or clear varnish to the front of the photo frame. This will give it a glossy finish.
- Carefully place the photo onto the frame and press it down gently. Smooth out any air bubbles.
- If you like, you can further decorate the frame with decorative stickers or add a heartfelt message with a permanent marker.
- Allow the frame to dry completely before placing your favorite picture of you and your friend inside.
Careful DIY gifts for friends: Hand-Painted Mug
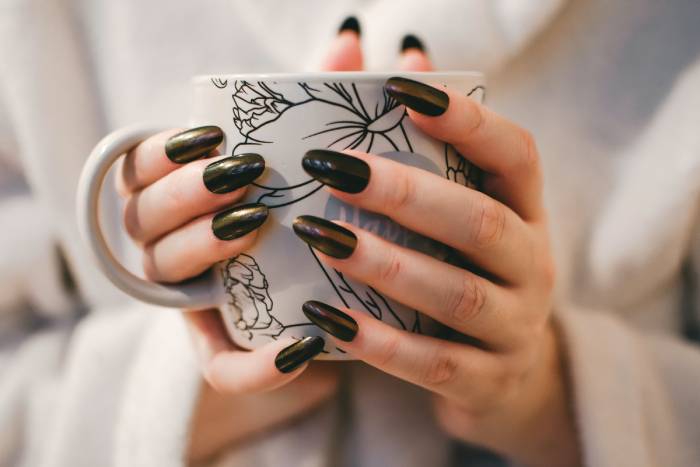
Materials Needed:
- A plain white ceramic mug
- Acrylic paint in various colors
- Paintbrushes
- A bowl of water
- Oven
Step-by-Step Instructions:
- Wash and dry the ceramic mug to ensure it’s clean and free from any dust or residue.
- Plan your design for the mug. You can draw simple patterns, write a message, or paint a favorite quote.
- Dip your paintbrush in water and then into the acrylic paint. This will help the paint adhere better to the ceramic surface.
- Carefully paint your chosen design onto the mug. Take your time and let each color dry before adding the next to avoid smudging.
- Once you’re satisfied with your design, allow the mug to air dry for at least 24 hours.
- To make the design permanent and safe for use, bake the mug in the oven according to the paint manufacturer’s instructions. Typically, this involves placing the mug in a cold oven, setting the temperature to 350°F (175°C), and baking for 30 minutes. After baking, let the mug cool down in the oven before removing it.
- Once the mug has cooled, it’s ready for use. Your friend will love sipping their favorite beverage from a personalized mug made with love.
Soft DIY gifts for friends: Scented Candles
Materials Needed:
- Candle wax flakes or old candles to melt down
- Candle wicks
- Fragrance oil (such as lavender, vanilla, or citrus)
- Heat-resistant container (e.g., mason jars)
- Double boiler or microwave-safe bowl
- Stirring utensil
Step-by-Step Instructions:
- Begin by preparing your container. Attach the candle wick to the bottom of the container using a small amount of melted wax to secure it in place.
- In a double boiler or microwave-safe bowl, melt the candle wax flakes or old candles. If you’re using a microwave, heat the wax in short bursts, stirring in between, until it’s completely melted.
- Once the wax is melted, add a few drops of your chosen fragrance oil and stir it in. Be cautious not to use too much fragrance oil, as it can overpower the scent.
- Pour the scented wax into your prepared container, leaving a bit of space at the top. Ensure the wick remains centered.
- Let the candle cool and solidify for several hours. Trim the wick to the desired length.
- Decorate the container with a ribbon or label, if you wish, and your homemade scented candle is ready to give.
Scented Candles are believed to be one of the romantic gifts. Therefore, not only for your friends, but these gifts can also can be the perfect DIY presents for a boyfriend.
Culinary handmade presents ideas for buddies: Personalized Recipe Book
Materials Needed:
- Blank notebook or journal
- Colored pens or markers
- Printed recipes (your own or your friend’s favorites)
- Glue or tape
Step-by-Step Instructions:
- Start by collecting your friend’s favorite recipes. You can use your own recipes or search online for their preferred dishes.
- Write out the recipes in your own handwriting or use a computer to print them neatly. Be sure to leave enough space for your friend to add notes or modifications.
- Arrange the printed recipes in the blank notebook or journal. You can organize them by categories like appetizers, main courses, desserts, etc.
- Add a personal touch by decorating the notebook’s cover with a heartfelt message, drawings, or stickers.
- Present your friend with a beautifully customized recipe book that they can cherish and use to cook their favorite meals.
Dedicated DIY gifts for friends: Handmade Jewelry
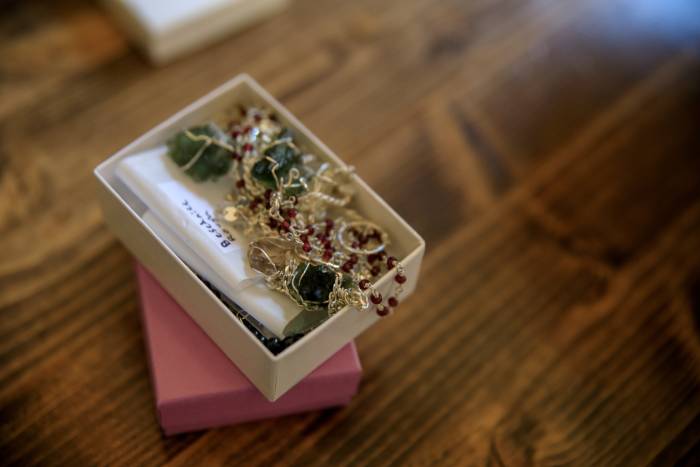
Materials Needed:
- Beads of various sizes and colors
- Jewelry wire or elastic cord
- Jewelry clasps (optional)
- Needle-nose pliers (if using wire)
- Small jewelry pouch or box
Step-by-Step Instructions:
- Plan the design of your handmade jewelry. You can create bracelets, necklaces, or earrings.
- Cut the jewelry wire to the desired length, keeping in mind the size of the finished piece.
- String the beads onto the wire in your chosen pattern. You can mix and match colors and sizes to create a unique design.
- If you’re making a bracelet or necklace, attach the jewelry clasp to each end of the wire using needle-nose pliers.
- If you’re using an elastic cord, tie a secure knot to hold the beads in place.
- Trim any excess wire or cord.
- Place the finished jewelry in a small pouch or box for a beautiful presentation.
Creative DIY gifts for friends: Hand-Decorated Tote Bag
Materials Needed:
- A plain canvas tote bag
- Fabric paint or markers
- Stencils or templates (optional)
- Painter’s tape (optional)
Step-by-Step Instructions:
- Lay the canvas tote bag on a flat surface and ensure it’s clean and free from any wrinkles.
- Plan your design for the tote bag. You can draw freehand or use stencils and templates for more precise shapes.
- If you want to create clean lines or block off sections, use painter’s tape to mask the areas you don’t want to paint.
- Start decorating the tote bag with fabric paint or markers. Be creative and use different colors to bring your design to life.
- Allow the paint to dry completely. This may take a few hours or overnight, depending on the type of paint you used.
- Once the paint is dry, carefully peel off any painter’s tape if you used it.
- Your customized tote bag is ready to be filled with goodies and gifted to your friend. It’s not only practical but also a stylish accessory.
Thoughtful handmade gifts for friends: Homemade Bath Bombs
Materials Needed:
- Baking soda
- Citric acid (available at craft stores)
- Epsom salt
- Essential oils (e.g., lavender, eucalyptus, or citrus)
- Food coloring (optional)
- Silicone molds or ice cube trays
- Mixing bowls
- Spray bottle filled with water
Step-by-Step Instructions:
- In a mixing bowl, combine 1 cup of baking soda, 1/2 cup of citric acid, and 1/2 cup of Epsom salt. Mix these dry ingredients thoroughly.
- If you’d like to add color to your bath bombs, add a few drops of food coloring to the mixture. Be cautious not to overdo it; you can always add more if needed.
- In a separate small bowl, mix a few drops of your chosen essential oil with water. Use a spray bottle to add this mixture slowly to the dry ingredients. Spray a little at a time and mix until the mixture resembles damp sand and can hold its shape when squeezed.
- Carefully pack the mixture into silicone molds or ice cube trays, pressing down firmly to compact it.
- Allow the bath bombs to dry in the molds for at least 24 hours.
- Once dry, gently remove the bath bombs from the molds. They should be solid and hold their shape.
- Store the homemade bath bombs in an airtight container until you’re ready to give them. Your friend will enjoy a luxurious bath experience with these soothing and fragrant treats.
Conclusion
Creating DIY gifts for friends can be a rewarding and heartfelt way to show your appreciation and affection. These easy-to-follow tutorials provide step-by-step instructions and list the materials you’ll need to craft personalised gifts that your friends will treasure. Whether it’s a customized photo frame, hand-painted mug, scented candle, personalized recipe book, or handmade jewelry, your thoughtful DIY gifts for friends will bring joy and warmth to your friendships. So, roll up your sleeves, unleash your creativity, and start crafting these meaningful tokens of friendship today.


