
Halloween is a fun holiday that encourages creativity and enthusiasm. Making your own DIY Halloween presents is one wonderful way to make the event even more memorable.
In this step-by-step tutorial of personalisedgifts.me, we’ll walk you through the process of making unique and mysterious DIY Halloween gifts that will excite anybody who receives them.

Contents
Selecting the Best DIY Halloween Ideas
Before you begin making, consider the recipients and the types of presents that will appeal to them. Do they enjoy candles, sweets, or home décor? Making DIY Halloween gifts that are tailored to their interests can make them much more appreciated. There are some factors to consider when selecting DIY Halloween gift ideas:
- Materials and Supplies
- Listing essential materials and supplies
- Sourcing items locally or online
- Preparation and Workspace
- Creating a conducive workspace
- Gathering tools and ensuring safety
Exploring various DIY Halloween gifts ideas this October
There are following handmade DIY Halloween gifts for Halloween this year you can consider to create by yourself:
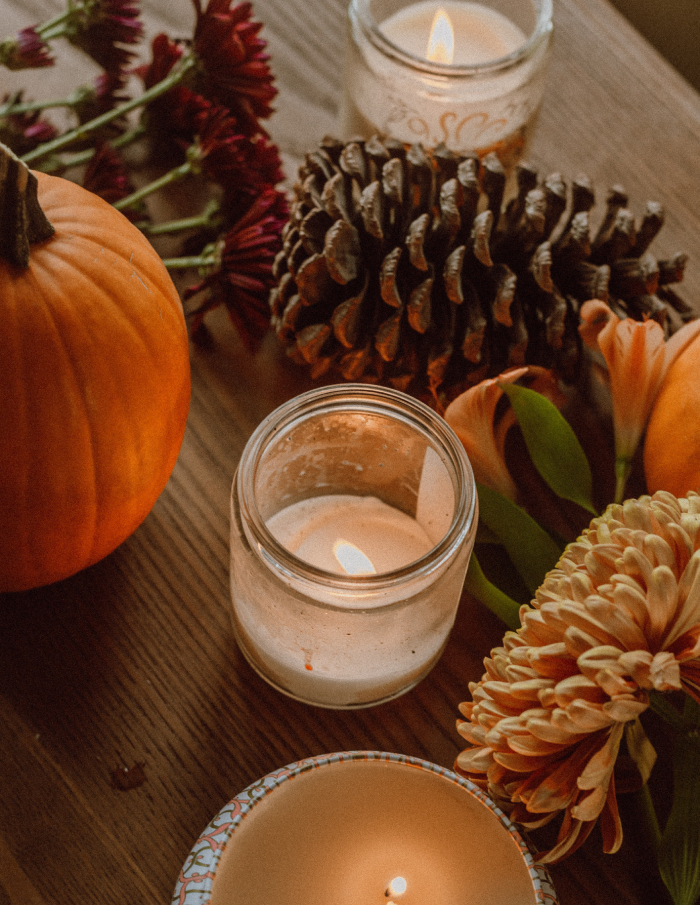
DIY Halloween gifts idea 1: Spooky Mason Jar Lanterns
Follow this step-by-step guide to illuminate your space with these captivating lanterns that are sure to bewitch your guests and can be a special idea of DIY Halloween gifts this year.
- Step 1: Prepare Your Workspace: Lay down a protective sheet of newspaper or plastic to catch any paint drips and to keep your work area clean.
- Step 2: Choose Your Stencils: Select the stencils you’d like to use on your Mason jar lanterns. Halloween-themed shapes like bats, witches, or spiders work well for creating that spooky atmosphere.
- Step 3: Stencil Placement: Position the stencil on the outside of the Mason jar. Hold it in place with one hand while using the other hand to lightly trace the stencil’s design onto the jar with a pencil. This will help guide your painting.
- Step 4: Painting: Using your black acrylic paint and fine paintbrushes, carefully paint the traced design on the Mason jar. Take your time to ensure clean lines and even coverage. You might need to apply multiple coats for a solid black finish. Let the paint dry between coats as per the paint’s instructions.
- Step 5: Adding the Light: Place a tea light candle or battery-operated LED tea light inside the painted Mason jar. If using a real candle, make sure the flame is safely contained within the jar and doesn’t come into contact with the paint.
- Step 6: Illuminate and Enjoy: Find the perfect spot to display your Spooky Mason Jar Lanterns. As dusk falls, light the candles and watch as the enchanting designs cast eerie shadows, transforming your space into a captivating Halloween haven.
DIY Halloween gifts idea 2: Customized Trick-or-Treat Bags
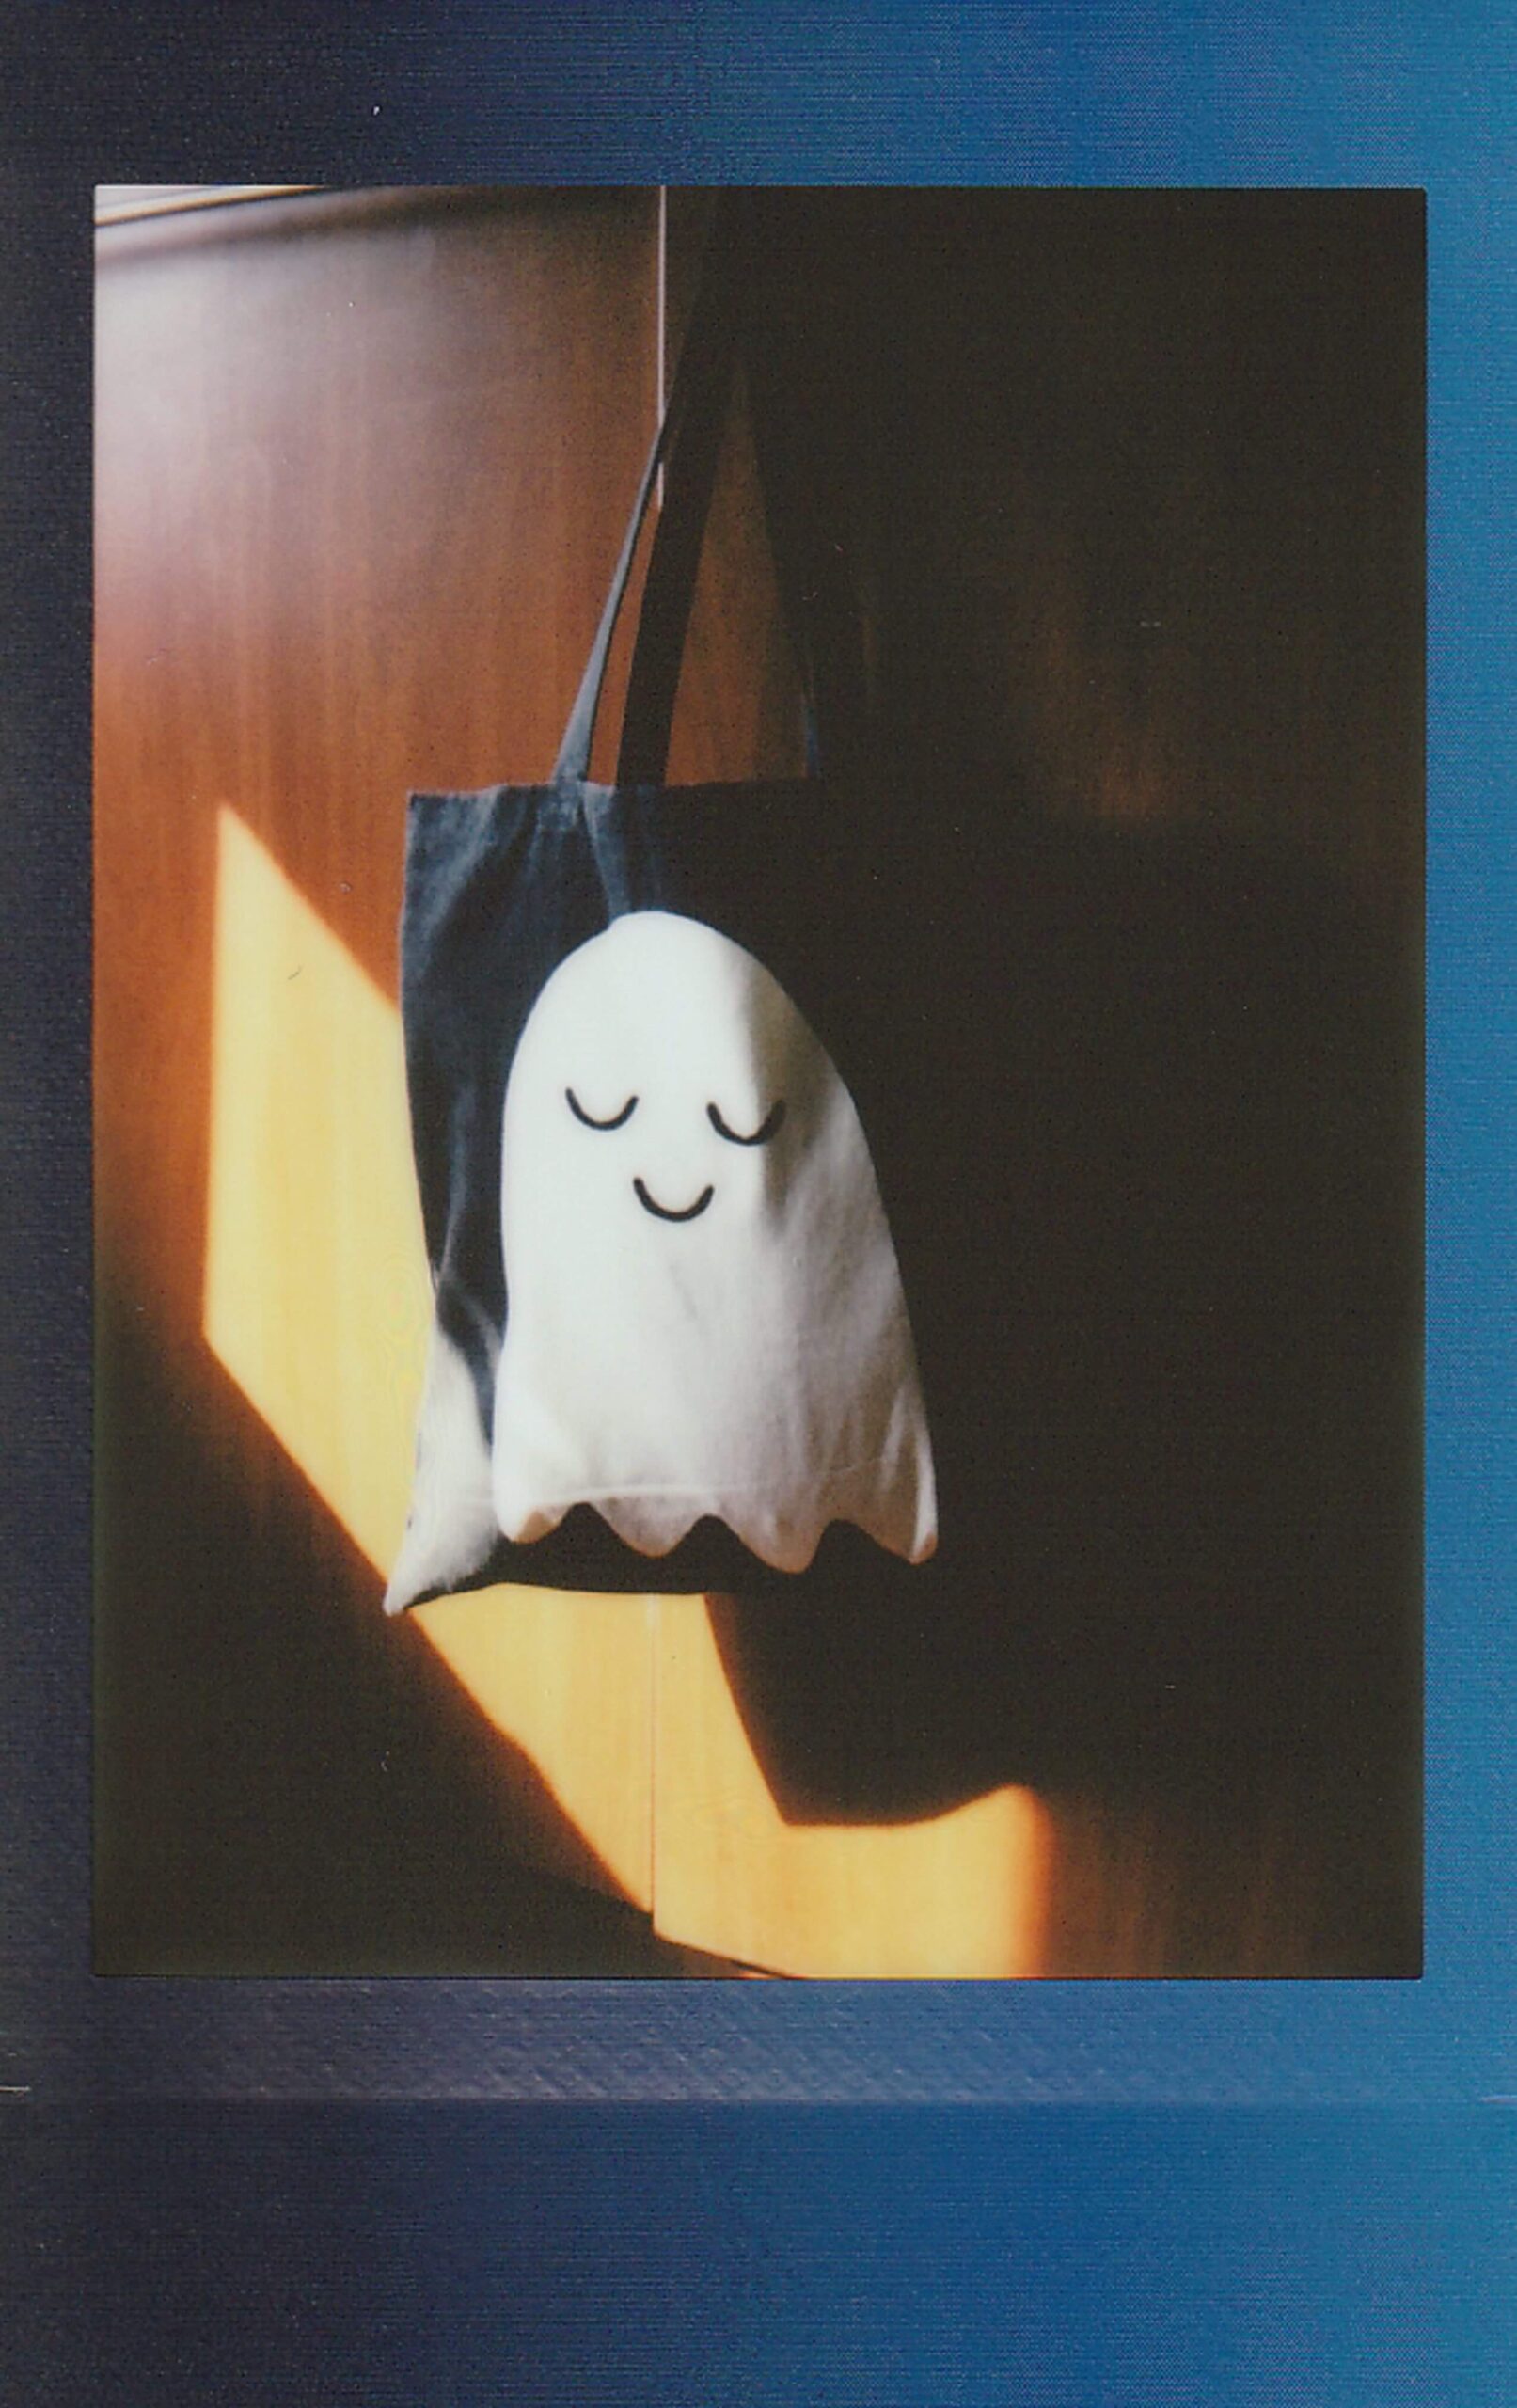
Get ready to take your Halloween events to the next level with these wonderful DIY Halloween gifts this year: DIY Personalized Trick-or-Treat Bags.
- Choose Your Tote Bags: Select plain fabric tote bags in a size suitable for holding Halloween treats. These can be easily found at craft stores or online.
- Prepare Your Workspace: Lay down a protective sheet of newspaper or plastic to catch any paint spills and to keep your work area clean.
- Design Planning: Decide on the design you’d like to add to the tote bags. Halloween-themed images like pumpkins, ghosts, or bats work well. If you’re not confident in your freehand drawing skills, consider using stencils or iron-on transfers.
- Stencils or Freehand Drawing: If using stencils, position the stencil on the tote bag and hold it in place. Lightly trace the design onto the bag with a pencil. If you’re confident in your drawing skills, you can also freehand the design directly onto the bag.
- Painting or Coloring: Using fabric paints or fabric markers, carefully color in the design on the tote bag. Take your time to ensure vibrant colors and even coverage. If using fabric paints, use fine paintbrushes for intricate details.
- Prevent Paint Bleed: To prevent the paint from bleeding through to the other side of the bag, place a piece of cardboard or plastic sheet inside the bag before painting.
DIY Halloween gifts idea 3: Creepy Crawly Bath Bombs

This Halloween season, elevate your bath time experience with these deliciously spooky DIY Halloween gifts ideas: DIY Creepy Crawly Bath Bombs.
- Step 1: Prepare Your Workspace: Set up your workspace with all the necessary materials. Consider using protective gloves to avoid direct contact with some ingredients.
- Step 2: Dry Ingredients: In a mixing bowl, combine the following dry ingredients:1 cup baking soda, 1/2 cup citric acid, 1/2 cup cornstarch, 1/2 cup Epsom salts
- Step 3: Wet Ingredients: In a separate bowl, mix the following wet ingredients: 2 tablespoons coconut oil (melted), 5-10 drops of essential oil for fragrance, Witch hazel (in a spray bottle)
- Step 4: Coloring and Scent: Add a few drops of food coloring to the wet ingredients to achieve your desired spooky hues. You can use different colors for each bath bomb. Mix well to distribute the color evenly. Also, add the essential oil for a relaxing scent.
- Step 5: Combining Wet and Dry Mixtures: Slowly pour the wet mixture into the bowl with the dry ingredients. Use a whisk to combine the two mixtures. The mixture should hold together when squeezed without crumbling.
- Step 6: Adding Plastic Bugs: Place a plastic bug or spider into one half of the bath bomb mold. Press it down slightly to embed it in the mixture.
- Step 7: Molding the Bath Bombs: Fill both halves of the bath bomb mold with the mixture, pressing down firmly. Overfill slightly before pressing the two halves together. Press firmly to compact the mixture.
- Step 8: Releasing the Bath Bombs: Carefully remove the bath bomb from the mold. Gently tap the mold if needed to release the bath bomb.
- Step 9: Drying and Setting: Place the bath bombs on a clean, dry surface and allow them to air-dry for at least 24 hours. This will help them harden and retain their shape.
- Step 10: Spooky Bath Time: When your bath bombs are completely dry, drop one into a warm bath and watch it fizz and dissolve, releasing a surprise plastic bug or spider. Enjoy a delightfully creepy and relaxing bath!
DIY Halloween gifts idea 4: Haunted House Miniature Display

Create your own Haunted House Miniature Display to immerse yourself in a world of frightening magic of DIY Halloween gifts ideas.
Step 1: Designing the Base: Choose the size of your display and cut a piece of cardboard or foam board to serve as the base. Lay down a protective sheet to catch any mess.
Step 2: Miniature House Construction: You can either create your own miniature haunted house using templates or purchase a pre-made miniature house kit. Assemble the house according to the instructions.
Step 3: Painting the House: Use black, gray, brown, and other dark colors to paint the miniature house, giving it a weathered and spooky appearance. Add details like cracked windows, chipped paint, and creepy shadows to enhance the haunted look.
Step 4: Decorating the House: Attach miniature Halloween decorations to the exterior of the house using hot glue. Place pumpkins, bats, skeletons, and any other spooky elements that fit the theme.
Step 5: Creating the Landscape:
Glue small twigs or sticks to the base to resemble trees or barren branches. Arrange small stones or pebbles to create a pathway or rocky terrain. Add craft moss or fake grass to simulate the ground.
Step 6: Adding Atmosphere: Drape faux spider webs or stretched-out cotton balls around the trees and on the house’s eaves to create a haunted, abandoned vibe.
Step 7: Illuminating the Scene: Insert miniature LED lights or battery-operated tea lights inside the house to give it an eerie glow. You can also place lights around the base to create a moody ambiance.
Step 8: Final Touches: Take a step back and assess your miniature haunted house display. Make any necessary adjustments, and ensure all elements are securely glued in place.
Step 9: Displaying Your Creation: Find a prominent spot to showcase your Haunted House Miniature Display. It could be on a shelf, mantel, or even as a spooky centerpiece for your Halloween party.
Step 10: Captivate and Enjoy: Turn on the lights and watch as your haunted house comes to life with a captivating and eerie charm. Bask in the glow of your spooky creation and share it with friends and family to spread the Halloween spirit.
DIY Halloween gifts idea 5: Witchy Home Decor
Witchy house Decor can transform your house into a land of mysterious charm and enchantment.
Step 1: Candle Magic: Candles are essential in witchcraft and can be used for various intentions. Place taper, pillar, or tea light candles around your space. Choose colors that resonate with your desired energy: white for purity, black for protection, green for abundance, etc.
Step 2: Crystal Abundance: Position crystals and gemstones strategically around your home. Amethyst for intuition, citrine for positivity, and rose quartz for love are just a few options. Create crystal grids or arrange them intuitively.
Step 3: Herbal Harmony: Display dried herbs and flowers in decorative jars or bowls. Hang bundles of dried herbs like sage or lavender for their cleansing and calming properties.
Step 4: Divination Delight: Keep your tarot cards or oracle decks on a prominent surface, inviting daily or occasional divination. Include rune stones or other divination tools that resonate with you.
Step 5: Cauldron Magic: Place a cauldron or decorative bowl in your space. It can be a focal point for rituals, a holder for offerings, or a stylish storage option for your magical supplies.
Step 6: Broom Blessing: Hang a broom or besom near your entrance or on a wall. This traditional symbol is associated with protection and cleansing energies.
Step 7: Mystic Artistry: Adorn your walls with mystic-themed artwork or tapestries. These pieces can depict magical symbols, moons, stars, or other esoteric imagery.
Step 8: Reflective Magic: Utilize decorative mirrors, especially those with ornate frames or in black, to capture and enhance the energy in your space. Mirrors can also symbolize spiritual reflection.
Step 9: Natural Connection:
Integrate hanging plants or bundles of dried herbs into your decor. These not only add a touch of nature but also symbolize the balance between the earthly and the mystical.
Step 10: Personal Space:
Customize your Witchy Home Decor based on your personal beliefs and practices. Let your intuition guide you as you curate your space with items that resonate deeply with you.
Conclusion
DIY Halloween gifts are a great way to celebrate the scary season while also showing your loved ones how much you care. You are creating enduring memories for years to come by integrating your creativity and personal touch into each present.