
As the holiday season approaches, the desire for unique and personalized decorations grows. One exceptional way to infuse warmth and creativity into your holiday decor is by learning “how to make a wooden Christmas tree.” In this article, we’ll take you through the steps to craft your very own wooden Christmas tree, adding a touch of rustic charm to your festive celebrations.
Contents
Why Choose a Wooden Christmas Tree?
Learning how to make a wooden Christmas tree has gained popularity in recent years for several compelling reasons. These handcrafted trees offer a host of advantages that make them a delightful addition to your holiday decor.
- Sustainability: Using wood for your Christmas tree is an eco-friendly choice. Unlike traditional cut trees, wooden trees can be reused year after year, reducing the environmental impact.
- Uniqueness: Each wooden tree you create is unique. You can personalize it with your choice of colors, ornaments, and embellishments to match your decor and style.
- Durability: Wooden Christmas trees are sturdy and long-lasting. They won’t shed needles or wither, ensuring your tree remains vibrant throughout the holiday season.
- Endless Creativity: Crafting a wooden Christmas tree allows you to unleash your creativity. You can design your tree in various styles, from minimalistic and modern to rustic and vintage.

Materials You’ll Need
Before you start the process of how to make a wooden christmas tree, gather the necessary materials.
- Wooden Boards: You can use reclaimed wood, pallets, or new wooden boards, depending on your preference.
- Saw: A saw will help you cut the wooden boards into the desired tree shape.
- Sandpaper: Sandpaper is absolutely necessary for bringing the corners and surfaces of the wood to a smooth finish.
- Paint and Brushes: Choose paint colors that match your holiday decor.
- Decorations: Collect ornaments, garlands, lights, and any other decor items you’d like to use.
- Screws or Nails: You’ll need these to assemble your wooden tree.
- Tools: A drill and hammer will be helpful in securing the pieces together.
- Safety Gear: Don’t forget safety goggles and gloves to protect yourself during the crafting process.
Step-by-Step Guide: Crafting Your Wooden Christmas Tree
Embarking on the journey of “how to make a wooden Christmas tree” offers a unique and eco-conscious approach to Christmas decorating ideas. This step-by-step guide breaks down the process into two main sections: building the wooden structure and decorating your tree.
Follow these steps to make a Xmas tree:

Building the Wooden Structure
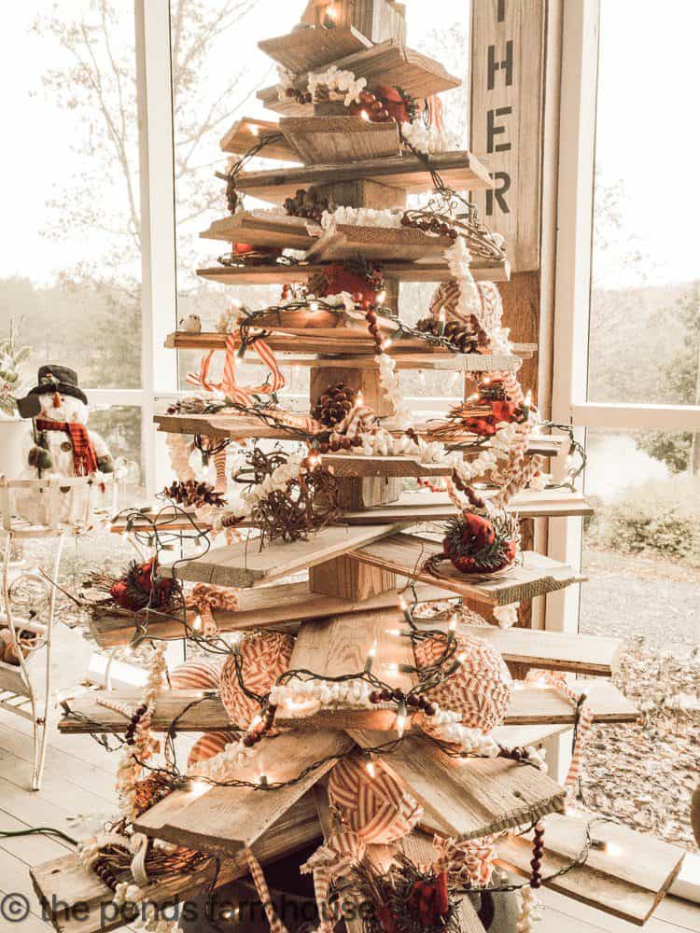
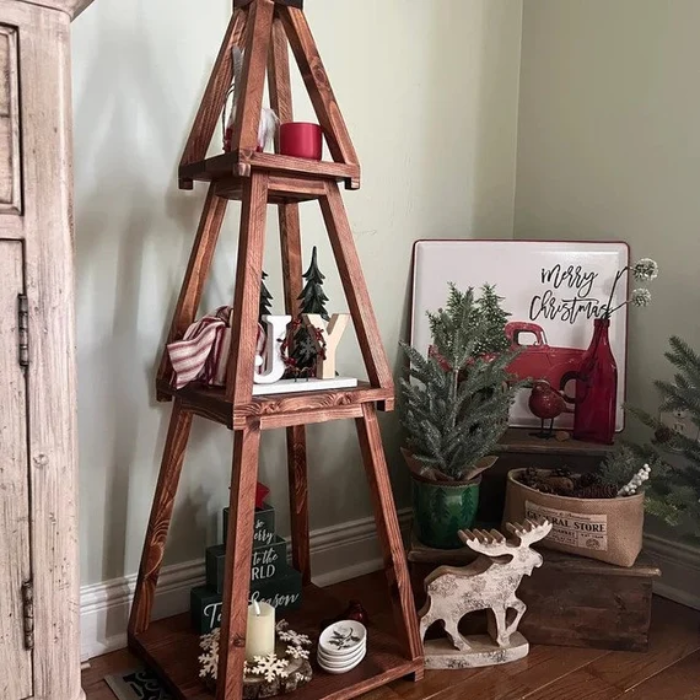
- Design Your Tree: Decide on the size and shape of your tree. You can opt for a classic triangle shape or get creative with unique designs.
- Cut the Wood: Using a saw, cut the wooden boards into the chosen tree shape. Ensure you have the main tree structure and additional pieces for branches.
- Smooth the Edges: Use sandpaper to smooth any rough edges and surfaces. This step is essential for the process of how to make a wooden Christmas tree.
- Assemble the Tree: Attach the branches to the main tree structure using screws or nails. Make sure everything is secure and stable.
Decorating Your Wooden Christmas Tree
- Paint Your Tree: Now, it’s time for the next stage of how to make a wooden Christmas tree process. Choose colors that complement your holiday decor theme. Allow the paint to dry completely.
- Decorate Your Tree: Once the paint is dry, it’s time for the fun part – decorating! Hang ornaments, wrap garlands, and string lights to create a festive look. You can also put some personalized gifts around your wooden tree.
- Personalize Your Tree: Add a personal touch by incorporating handmade decorations or sentimental ornaments that hold special memories.
- Display Your Tree: Place your wooden Christmas tree in a prominent spot in your home. You can set it on a table, secure it to the wall, or create a stand for it, depending on your design.
- Admire Your Handiwork: Step back and admire your beautiful creation. Your wooden Christmas tree is not only a work of art but also a symbol of your holiday spirit and creativity.
Tips for a Stunning Wooden Christmas Tree
- Mix Paint Techniques: Experiment with a variety of paint techniques to add depth and character to your wooden Christmas tree. Consider distressing for a weathered look, stenciling for intricate patterns, or ombre effects for a modern touch.
- Chalkboard Paint Fun: For an interactive and playful twist, consider using chalkboard paint on a section of your wooden tree. This allows you to change holiday messages, draw festive designs, or involve the entire family in creative expressions.
- Secure Safely: Safety is paramount, especially if you have pets or young children in your home. Ensure that your wooden tree is securely anchored or mounted, so it remains stable and doesn’t pose a tipping hazard.
- Personalize with Sentimental Decor: Learning how to make a wooden Christmas tree even more meaningful by incorporating sentimental decorations.
Conclusion
Learning how to make a wooden Christmas tree can be a delightful and eco-conscious way to decorate your home for the holiday season. The process allows you to express your creativity, personalize your decor, and contribute to sustainability by using a reusable tree. As you craft your wooden Christmas tree, remember that the most important aspect is enjoying the journey and infusing your home with the warm spirit of the season.
Elevate your holiday decor this year with a handmade wooden Christmas tree, and revel in the joy of creating a unique and eco-friendly centerpiece for your festive celebrations.